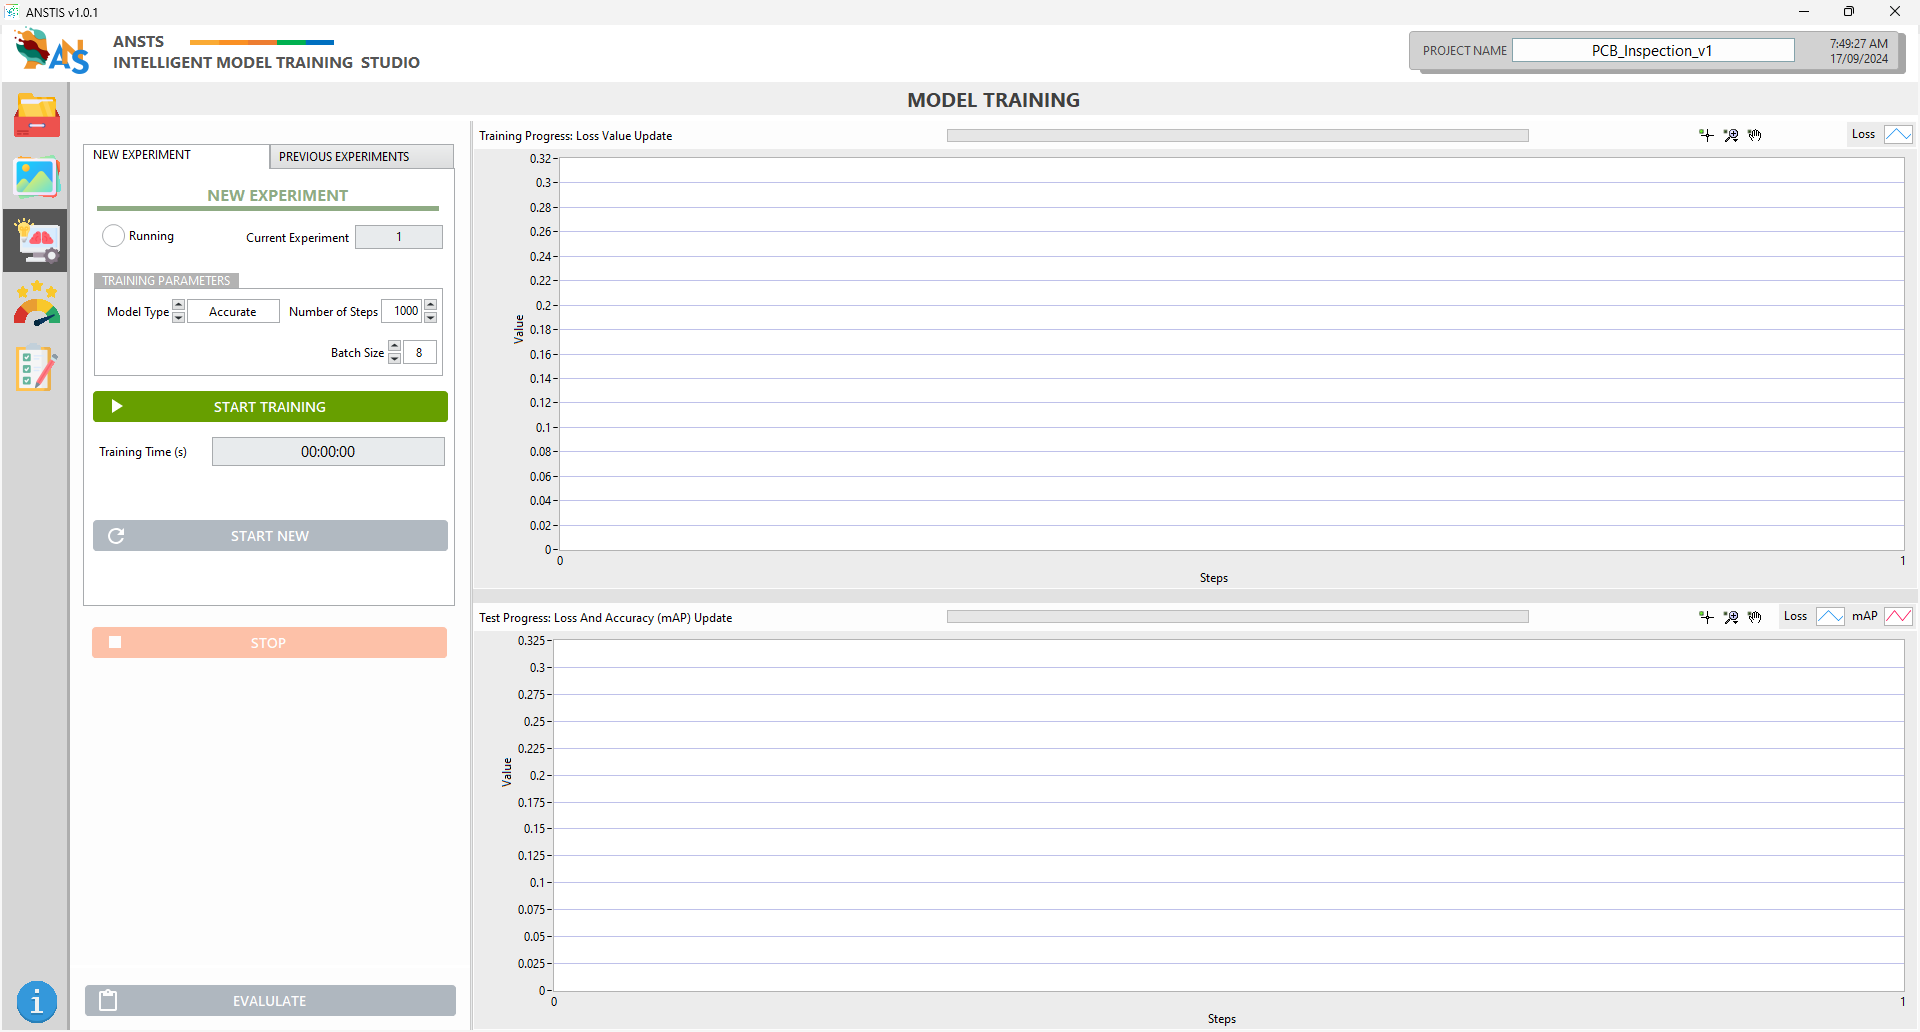
Model Training
After sending data to the engine, you need to set up the training parameters to start a training experiment. Each training experiment will produce a specific AI model based on the chosen parameters. This means that a project can have multiple models of the same dataset, depending on the number of experiments.
Start a new experiment.
On the New Experiment tab:
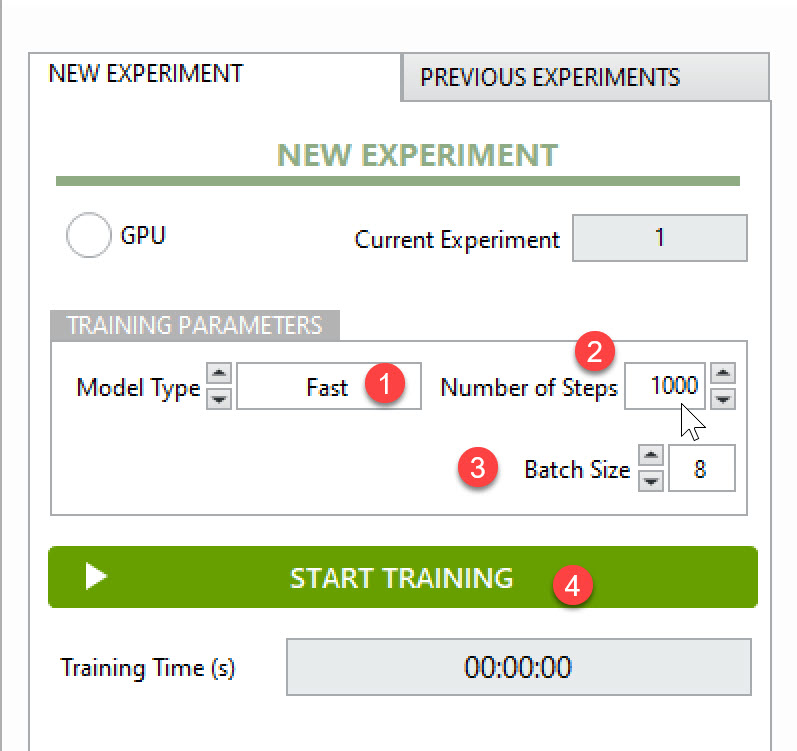
Step 1: Select the Model Type
ANSTS offers four distinct model types to represent the speed and accuracy of the output model.
FASTwill reduce model accuracy in exchange for inference speedACCURATEis the balance between inference speed and accuracy (recommended option)MOST ACCURATEwill reduce inference speed in exchange for model accuracyCUSTOMwill allow users to upload a pre-trained YOLOv11 model and continue training it with the dataset
Choosing the suitable model type will depend on your application's requirements, but the accurate and most accurate type will take longer for the training process unless you have a robust GPU.
Step 2: Adjust training parameters
Batch size: This will divide the training dataset into smaller groups to reduce GPU load. The more powerful GPU, the higher batch size you can choose. ANSTS will auto-recommend batch size based on your GPU power.
Number of steps: During each step, a batch of data is processed, and the model parameters are updated. Generally, more steps allow the model to learn better, but excessive training without improvement can lead to overfitting. A common guideline is to use 2000 steps per object class (e.g., for two categories like cats and dogs, a total of 4000 steps).
ANSTS training algorithm includes an early stopping mechanism, which means training will automatically stop if no further improvement is detected. Because of this, it is acceptable to set a high maximum step count, as the algorithm will stop earlier if needed, ensuring optimal training efficiency.
Model Training
Once the parameter is set, click Start Training to begin the model training process.
It will normally take up to 10 minutes to collect GPU resources and start training
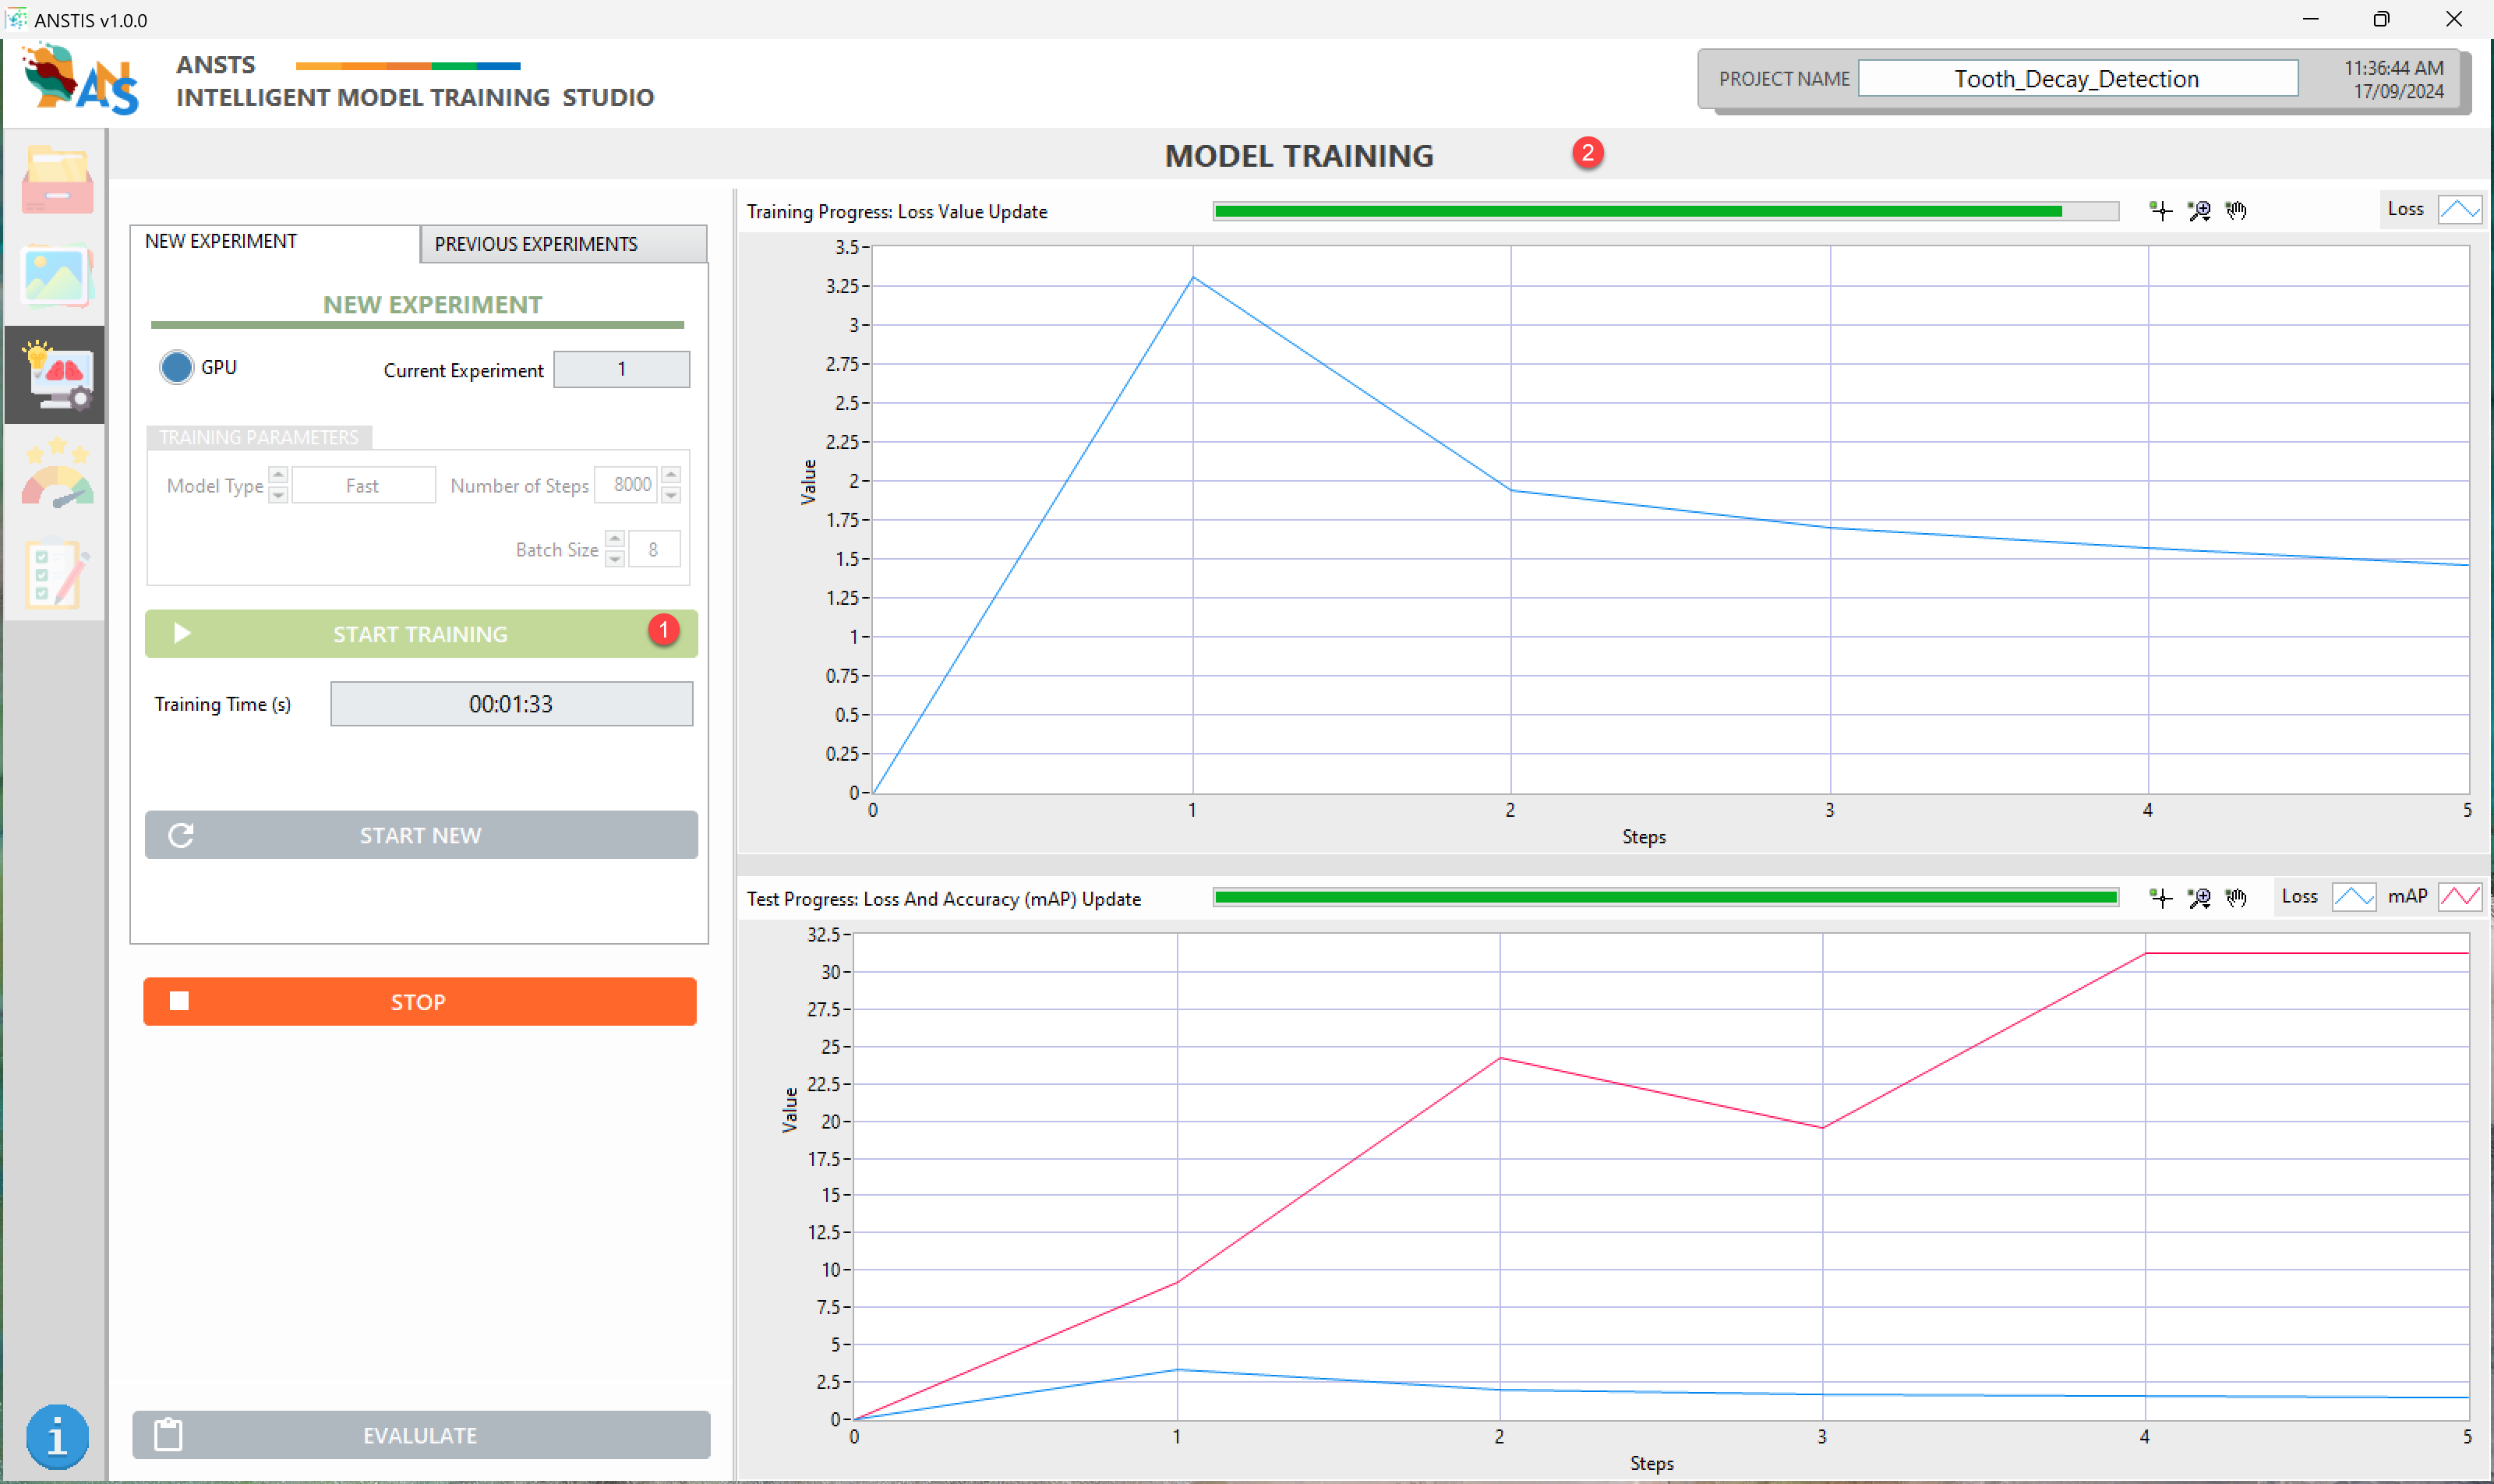
During the training process, a portion of the data will be selected for the validation set, which will be used to test the model simultaneously.
-
The loss value will be updated constantly on the training graph.
-
The mAP value will be updated on the validation graph. mAP stands for mean Average Precision, ranging from 0% to 100%. It's an indicator that defines whether the trained model is good enough; the closer to 100%, the better the model is.
Based on the mAP value, you will know whether the model can continue to learn from this experiment (if the mAP can still increase), and you can decide to let the system finish training or stop it manually.
Review Previous Trained Experiments
Once the experiment completes its training process, its training log will be stored in the Previous Experiments tab.
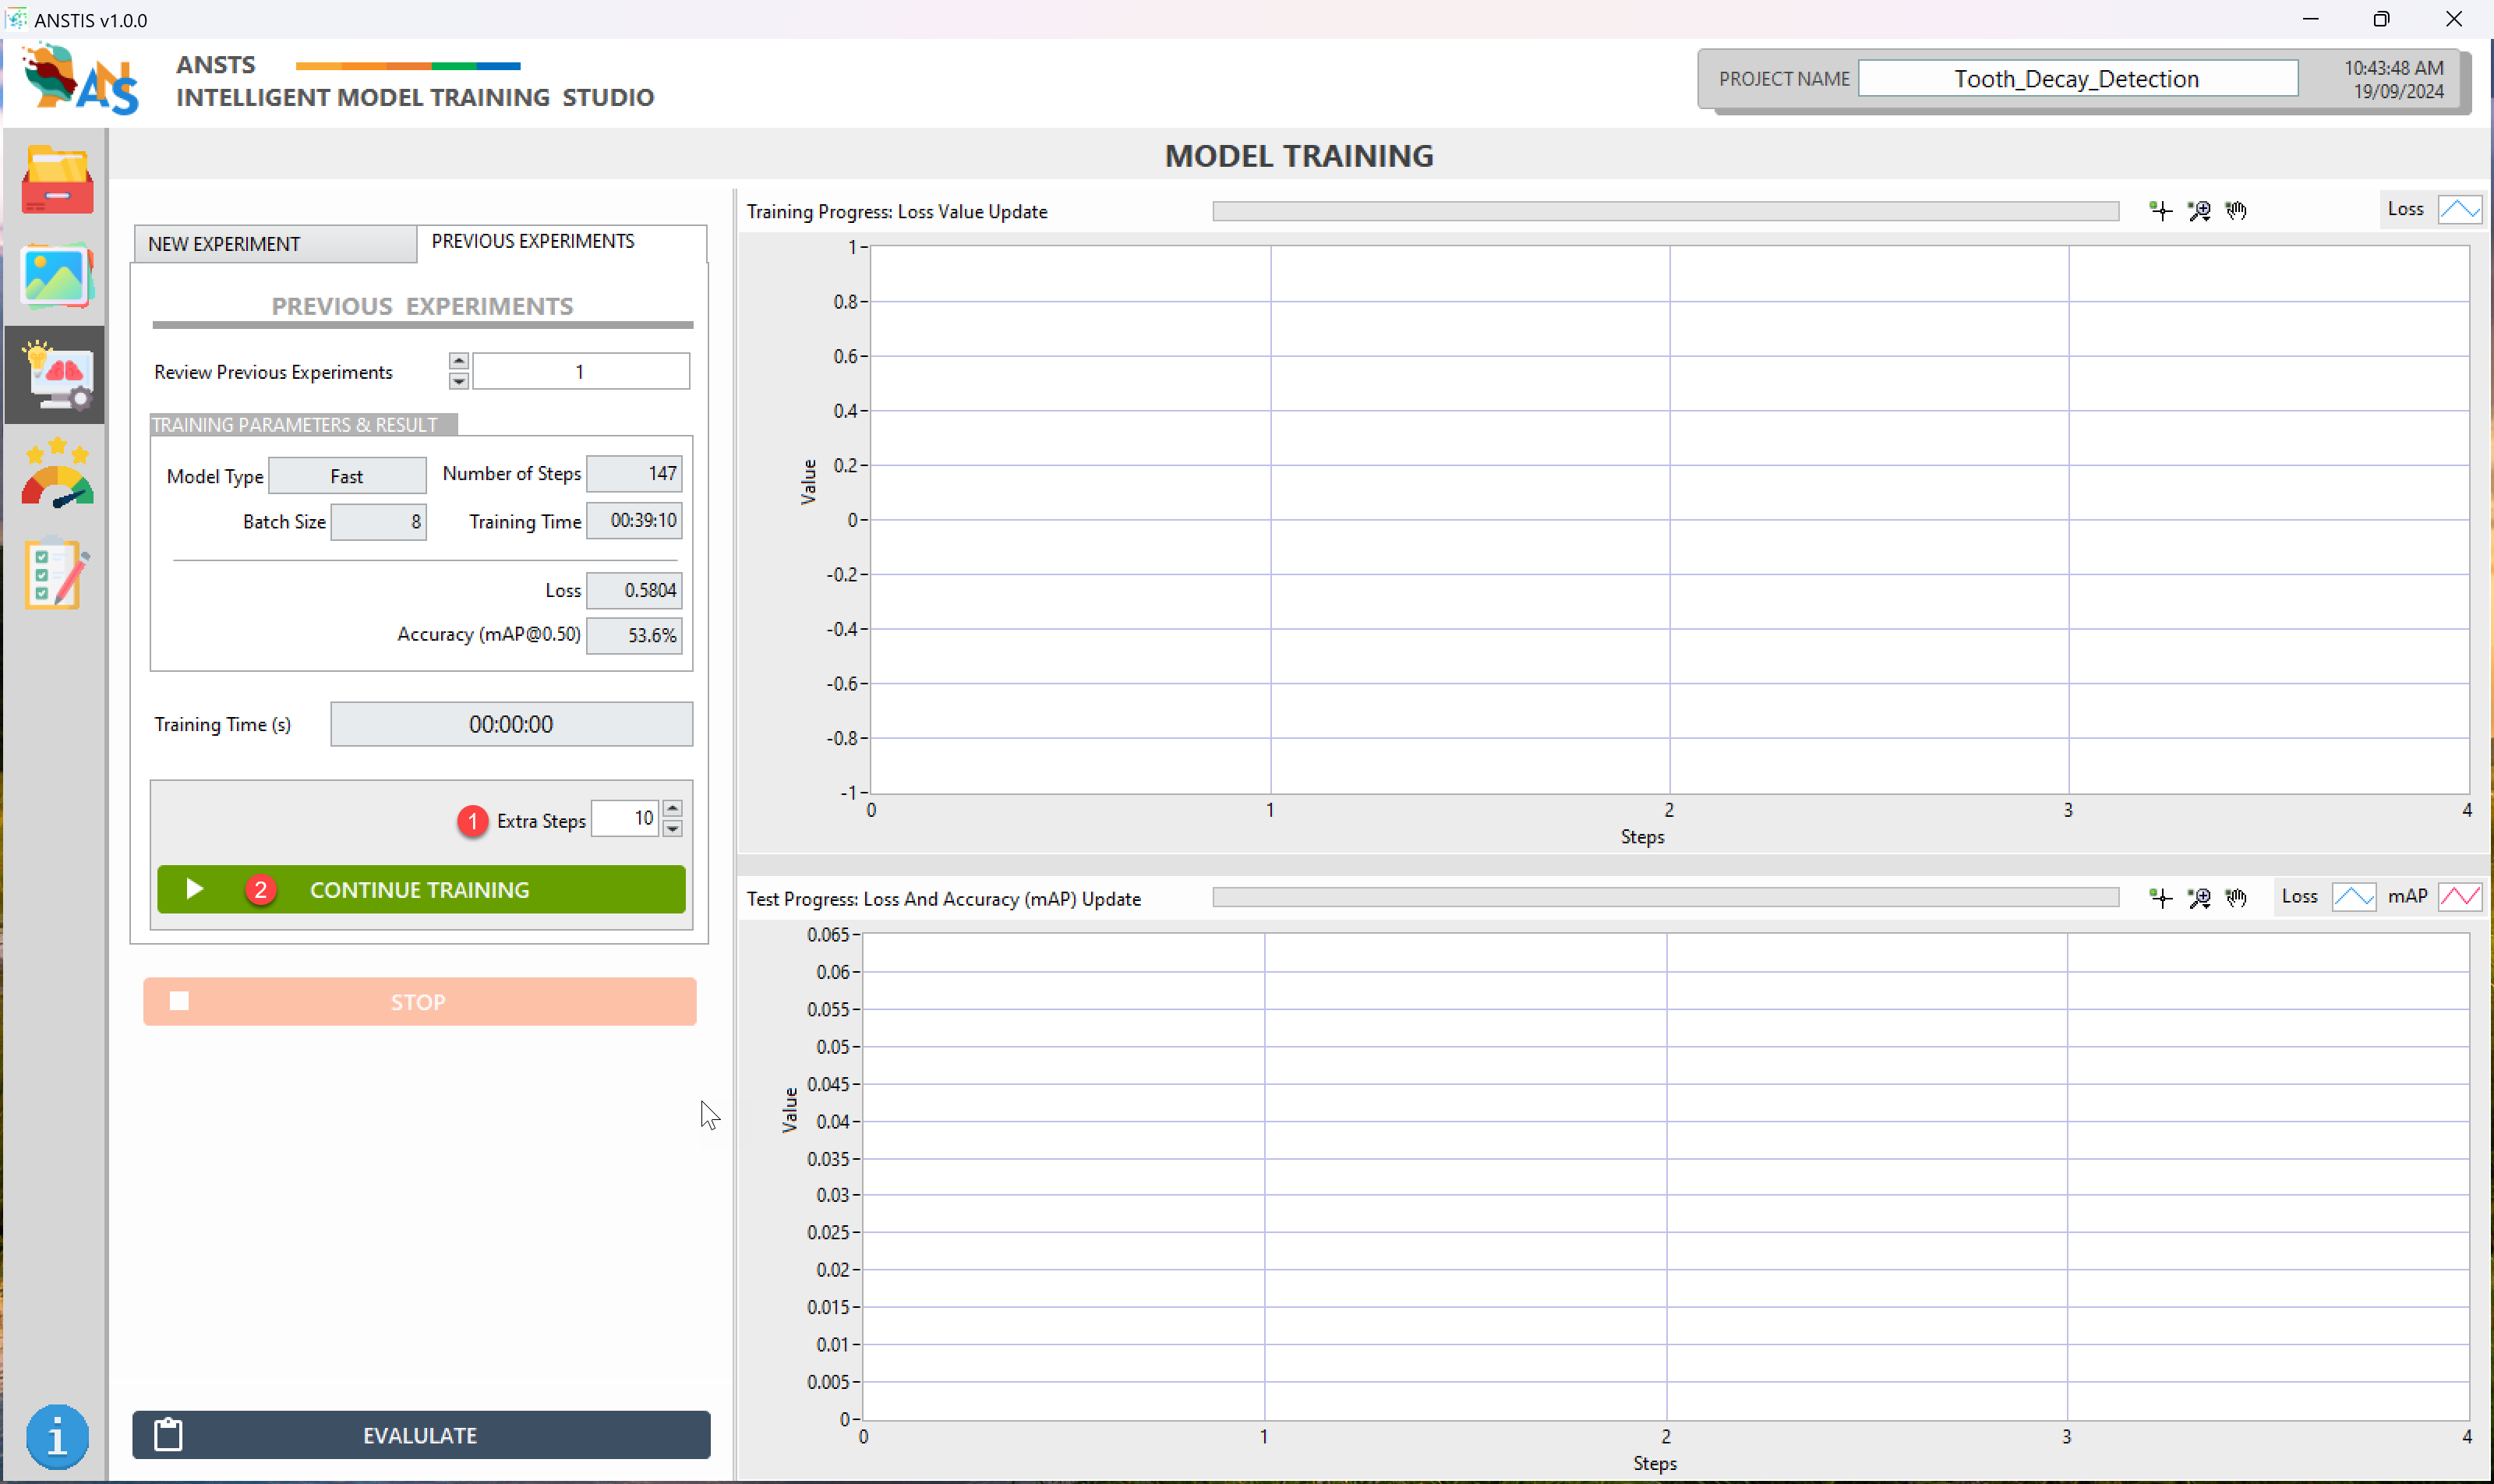
Use the Review Previous Experiments drop-down list to select your experiment (if you have more than 1).
From the selected experiment, you can:
- Review its training history, including the model type, trained steps, batch size, loss, and mAP; OR
- Continue to train that experiment if that experiment can be improved by adding extra steps.
- Create a new experiment from the
New Experimenttab to try other model type or batch size
Next Action
Once you are satisfied with the training result, click Evaluate to go to the next step.